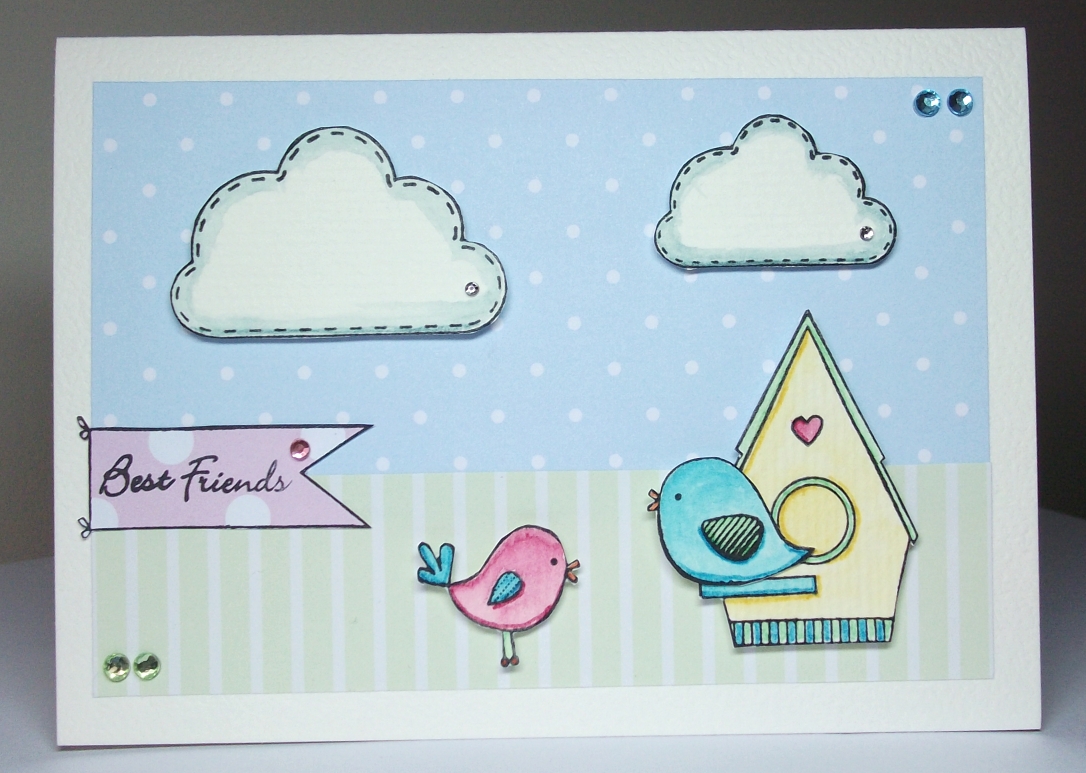
A card doesn't have to be perfect - just from the heart ...
Showing posts with label baby. Show all posts

Sunday, 8 July 2012

Updated: Welcome Zahlia :)


So yesterday I became an aunt for the second time :)

Welcome, beautiful little Zahlia!


So, naturally, the first thing I do is dash out to my nearest scrapbooking store (45 minutes away).  Yes, I braved the papers and actually picked some out - am quite proud of this because picking patterned paper frightens the heck out of me!  I knew I wanted butterflies so just went for it!


This is the quick and simple page I made for my sister - I did the same thing when my other niece was born :)  I don't put the photo on there - I just think that if it's going to hang in their house, they should pick their favourite picture or picture that best suits!

As you can see, I didn't do too much with it.  It has a very busy background so wanted to keep things as simple as possible.  I just adore the pretty fabric flower and the skeleton leaves!


And here is the card I made!  (for those who saw this page previously, yeah it's a different card - I can't stop fussing!!)

I heat embossed the pitter patter stamp with silver and fussy cut in a circle around it.  Then I used a punch to make a bigger circle in pink.  The edges of both were distressed, no inking.  Stuck them together , affixed 4 skeleton leaves to the back in a sort of fan and then stuck it all onto the bottom right corner of the page!

Added some bejewelling, some teeny tiny paper roses and embossed the Rock-a-Bye directly onto the top left corner of the card.  Punched the botton left corner to soften it and to stop it from looking so neglected :)
Easy peasy and pretty!

Happy Families!


Dani :)


Wednesday, 23 May 2012

Cutie Dress Card


SWEETIE-PIE DRESS CARD


This is a card that makes me go "Awwwww" and then hope desperately that a little girl's birthday will hurry up and get here so I can churn one of these out!

What can I say?  Easy.  Quick. Super Adorable.


Go Google crazy and find a template online for a dress.  There are heaps out there, I liked the simplicity of this one - easy to cut out!


Fold your card in half and then lay the dress template over the top, with the shoulders along the fold (unless your template specifies otherwise).  Cut around it so that it comes out per the picture above.

On the front, lay out plenty of double sided tape.


Select the main colour/pattern you want your dress to be and stick your card to the back of it.  Cut around the card.  This is quicker and easier than using the template again because then you have to stick it on straight and trim here and there.  I'm a fan of cutting corners hehe!


So this is what you should have once you have cut around the card, which is stuck to your main dress layer.


Ink around the edges of the dress - not only does this help hide little imperfections, it just makes the dress "pop" a little more.  Keep it fairly subtle though!


Under the arms, going across the dress, run a line of double sided tape that folds over onto the inside of the card.  This is to hold the ribbon on.


Stick your ribbon along the tape and fold it over to the inside of the card also.  If you're keen, you can cut out another dress to stick to the inside of the card to hide the ribbon, but that's personal taste and I'm far from being a neat person!

Apply some teeny little roses to the centre of the ribbon using a strong glue.  Place some stick on pearls as buttons.

Decorate it how you want, really!


And there you have it - one cute little dress card :)  There are heaps of templates for all sorts of things on Google - why stop at dresses?


Happy Dress-Making!

Dani :)


Monday, 21 May 2012

Kids Keepsake


KIDS HANDPRINT KEEPSAKE CARD


Now THIS was a quick card to make!  I can't take credit for the design - I saw it on Pinterest and HAD to give it a go.

Brin helped me with it a little - I think this is a terrific project to share with a child.  You don't have to stamp the greetings, your child could write it.  And they can embellish it any way they want!

Fantastic for mother's day, birthdays, christmas.  I just decided to make them for no good reason other than I think Brin's grandparents and aunts and uncles will get a kick out of it :)


Using chipboard, trace around your little one's hand and cut out to create a template.  Really you could use anything, even newspaper, but I like the idea of using something as tough as chipboard so that it doesn't move around when you're tracing around it, plus it lasts and can be potentially kept as my OWN keepsake :)


Place the traced hand onto your chosen paper and cut out two hands.  If you're using paper that has a different colour on each side, make SURE that you appear to have a left hand and a right hand otherwise they won't go together!


Use a 30 x 5cm strip of cardstock as the middle of your card.  Consatina it, folding every 3cm.  You want the two ends to be folded in the same direction, per the picture above.


Stamp the greeting "I Love You" on the hand that will be the front of your card.  Stamp the greeting "this much" in the way you prefer, such as above, across one side of your folded cardstock. 

Alternatively, your child can write the greetings.  Brin "helped" me stamp, thus the very rustic look hehe!


Attach the folded cardstock to the "inside" of the hands, as shown above., with the "this" end of the card attached to the inside of the front hand.  If you want to put a greeting, you can do what I did and put it on the back of the card.  I had Brin write his name on the back


.

Embellish as you, or your child, want - this is what I threw together quickly!


Happy Clapping!

Dani :)


Tuesday, 15 May 2012

When I can't sleep ...


SPOTTY CARD


This is a great card to make when you're in a hurry!  Quick and simple but a card that will please most people - suitable for babies, girls, grown up women and even (with the right browns and blues) guys.

You can change so many aspects of the design, based on the size of the card, the size and shape of the greeting, the papers you use (cork for men is awesome!) and how you want to embellish it.  When I make this card, the spots are always the same size (roughly 2cm diameter).  I alter where and how I have the ribbon, the style of the greeting, the types of buttons...

I made this at 1 in the morning so bear with me!


First of all, punch out a bunch of circles - don't worry about how many, do plenty so you can pick and choose colours and be able to muck around with the layout - so aim to have too many.

Ink the edges of the dots.


Get a small piece of card, suited to the size of your greeting.  Stamp the greeting!


I then chose to round the corners of the greeting, ink the edges and pop a tiny bit of bling on it :)

I generally mount my greeting for this card on foam tape.  In this instance, I mounted the left hand side onto with foam tape.


Create a loopy piece of ribbon.  To do this, I cut a decent legth of ribbon, stuck one end on a paper reamer (big fat needly thing!).  I then looped the ribbon back and forth, giving each loop a little more length (well, that was my intention but I ran out of ribbon!)

Firmly holding the ribbon in place, remove the reamer and put a mini brad through the hole.  Doesnt matter what colour, it will be covered up!


Figure out where you want your greeting and place the foam tape on the left end of where the greeting will sit.  Place some double sided tape along the rest of the length and add a dollop of glue for good luck!  Stick your loops on top.


Put some more double sided tape on the back of your greeting, pop a dollop of glue at the end with the loops and stick it down!  Hold it down for a while to make sure it stays where it should :)


Arrange your dots!  Stick them down with double sided tape :)


Pop a few buttons in the centre of some of the dots.  I used teeny tiny cuties, but you can use bigger buttons :)  I also rounded the edges of my card, given the "roundness" of the theme of the card.


Happy Spotting!

Dani :)


Saturday, 21 April 2012

New Baby Birds


LITTLE BIRDY NEW BABY CARD

Congratulations to my dear friend Melissa!!


No step by step photos this time, peeps, sorry!  It's pretty simple though :)

(Incidentally, if you're not into stamps and colouring, you can buy these kaisercraft sets as stickers!)
  1. Fold a 21 x 15cm piece of pink card in half
  2. Cut a piece of watercolour card to be about 9.5 x 12cm
  3. Using KaiserCraft Fine & Sunny stamp collection, stamp the row of flags at the top and the three little birds at the bottom.  I have used a corner rounder and inked the edges also
  4. Colour the stamps in your favourite method, in this instance I have employed my usual technique of colouring with water soluble pens and an aqua brush - very simply doing a bright single layer colouring and then using the pen tip of the markers to accent the top edge of each flag and then bottom V of each flag.  I also used the pen tip to accent the underneath of birds and their wings and tails
  5. Cut another piece of watercolour card (only so that it matches the main piece) 4 x 8cm.  Cut a piece of pink card (the same as your main card) 5 x 9cm.  Round the corners on both
  6. Put lettering or greeting on the small white card.  I have used chipboard stickers that are covered in fabric (pre-made because I don't have THAT much time!!) but you can stamp or use rub-ons or stickers etc
  7. Embellish with sparklies and use doublesided tape to stick the small white card to the front of the small pink card and then the pink card to the centre of the large white card
  8. Stick the large white card to the main pink card using double sided tape.  Keep the top, left and right margins even so that there is a large margin below.
  9. Punch two holes evenly at the bottom of the card.  I have actually (stupidly) done mine too big.  Smaller is better!  It's fiddly to get the ribbon through but holds the ribbon in place better.
  10. Choose your ribbon!  I've used a gauzy yellow ribbon and a thin pink ribbon and I threaded them through a diamante buckle first.
  11. Poke the ends of these ribbons through the holes from front to make then cross them over at the back and tug them back through the opposite holes.  If they don't stay in place on their own (mine didn't this time!) then hold down at the back with some clear gift wrapping tape
  12. Trim the ribbon and seal the ends with either glue or a bic lighter (gently and carefully, to melt the ends - sometimes this DOESN'T work!) to prevent the ends from fraying
  13. Done!


Here's another card I made with the same stamp set :)  Pretty self explanatory but feel free to ask any questions!


Happy Carding!!

Dani :)


Saturday, 14 April 2012

First iPhone Post!

Having a muck around with blogging from my iPhone!

Following on from my layered butterfly card, my mum said a butterfly mobile would be cute for my niece-on-the-way.

Challenge accepted!

Here is a prototype I'm starting with and refining:

Saturday, 7 April 2012

Creating Backgrounds

BE CO-ORDINATED

Create Your Own Backgrounds!


I hear other scrapbookers rave about their love of papers and buying coordinated stuff and I get jealous.

There's two reasons for this:

1)  Scrapbooking costs money, especially papers and their coordinates - and I have a rightly suspicious husband who knows full well I'd blow our entire bank account on scrapbooking stuff if I had the chance.  Additionally...well...I just suck at lying, being stealthy, and keeping secrets!

2)  I don't have a colour-coordinated bone in my body and my tastes tend to run simple.  When I look at a huge wall of paper choices I have a panic attack and get overwhelmed!

So whilst I still buy bits of scrapping paper for specific projects or ones that I think are kinda cute (or on sale!), the majority of my cardstock is plain white, plain cream and plain colours.  And this is why:


Get prepared!  Choose your ink/s, some itty bitty stamps, your piece of card and even a paint brush!  I also recommend a scrap piece of paper for underneath.

Tip:  Work on a piece of card considerably larger than you actually require - first of all, the off cuts are awesomely handy for other projects, but mainly, it means if you do make a boo-boo, you can choose which sections of card you want to trim off later!!


Ink up your first / only stamp.  I chose a cute little rose, which I am inking with pearlescent beige - I love this colour becuase it almost looks like gold but it's softer.


I always start at a corner and work out and across from there.  Now the reason for the scrap paper becomes apparent.  You want the design to flow across the page 'seamlessly' so stamp over the edges rather than leaving an edge gap!


Gradually work across the page, changing between stamps and colours if you want.  My second stamp is of some leaves and I've stamped them in olive.

It doesn't have to be a perfect pattern, the main thing I aim for is keeping the colours evenly "woven" (ie: don't do a bunch of flowers all together and only a few leaves).


Now, I'm one of those people who get a bit of a twitch if they see annoying gaps in their works (I don't criticise the the works of others so harshly!).  I found a simple solution for these gaps - dots!

Just dip the end of your paintbrush handle onto your inkpad (I have chosen lavender for some contrast) and press or roll the tip in a tiny, gentle, circular motion onto the page to make dots!


And there you have it!

By making these backgrounds, you can coordinate your inks with your backgrounds or more create a background to coordinate with other cardstock you have!

Here are some more that I did last night, they're so quick to make:


Why not use lots of words?  I pieced this together from a stamp set I bought.  And the silver ink is a good way to make a card that could go either way (boy or girl).  It takes a little extra planning because they're bigger stamps in a variety of sizes, but it's so effective!!

Also - why not use rhinestones instead of just doing dots to fill gaps?  It makes the design fun and a little more dimensional!


And this one is very simple, done with one stamp and gold ink!  As you can see, it's not perfect, but you can choose which section you want to use, plus it's the background, you'll draw focus away with something else anyway!


Go nuts, be creative!!

Dani :)