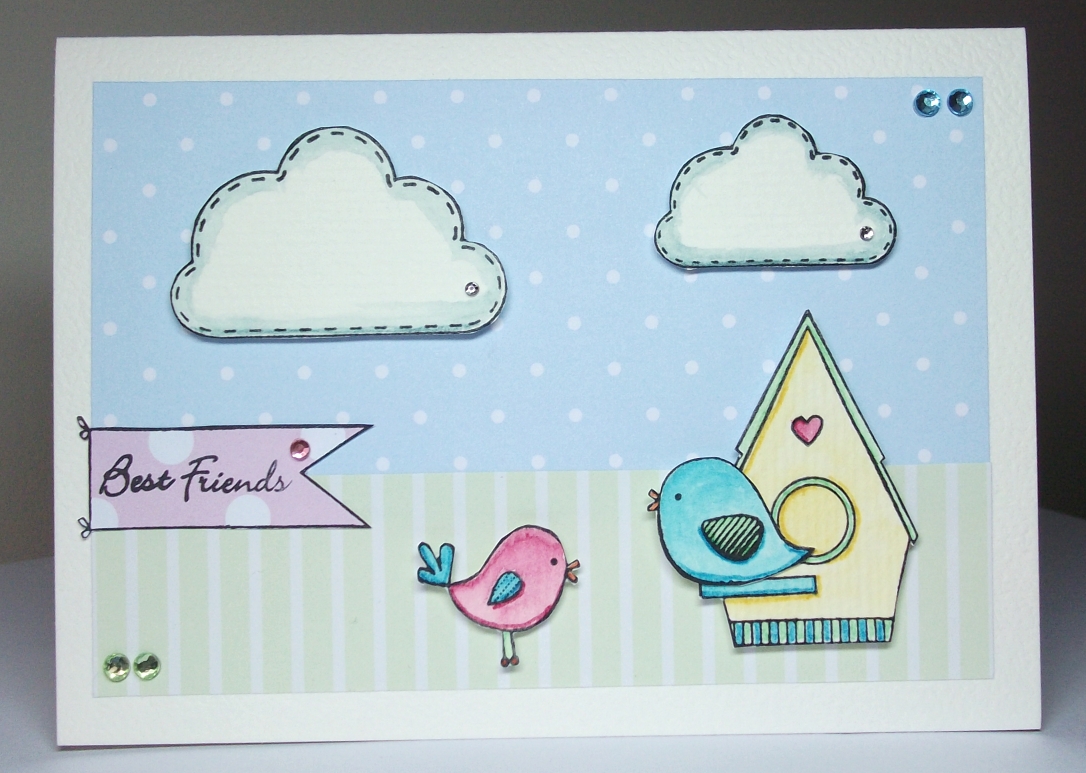
A card doesn't have to be perfect - just from the heart ...
Showing posts with label water colour. Show all posts

Sunday, 24 June 2012

Black & White


ROCKIN' THE MONOCHROME!


When making cards, there's no denying that the monochrome look can have a terrific impact - it can  be eyecatching, sexy, classy, modern, masculine (or feminine!), and fun!

And there's no reason you can't tie that into your stamp colouring as well.  If you're  fan of using copic markers, the impact is incredible.  I use watercolour markers, a little more subtle but still fantastic!

I went for cute and fun in this card :)  I think it would appeal to girls in the 10-13 age range :)


I started out by stamping my image and colouring it with various shades of black, grey and white.  To boost the impact I did colour the skin properly and added one element of red, in the cherry, to make the picture pop.

I used only THREE pens in this colouring:  black, red and skin tone.  Any actual black colouring, I used the black marker directly on the card.  Grey was achieved with the black pen, but painted on with an aqua brush (click here for instructions).  I used the pen-tip of the marker to add texture to her hair.

I finished her off with a little jewel on her bow :)


I got a piece of black card with a faint design to back my coloured image.  You could probably use flat black but I think a faint design adds something.  At the other end of the scale, anything with a clear pattern will be too busy and your picture will be lost.

I distressed the edges of the backing card to relax the style and add some definition to the edges (the other side of the card has a design on white so it worked well because when I distressed the edges, the white showed).  I then mounted my image onto the card with foam tape, to give her lift.


I then mounted my image and card onto patterned paper (black pattern on white) that is only a little smaller than the size of my overall card.  The patterned paper I chose is flocked and also has a little shine to it - gotta love textures!

I added black ribbon to break up the pattern a little.


And to finish it off, I stuck the patterned paper onto my base card and inked the edges of the card with black - again to continue the relaxed feel of the card, but it also helps add some definition since you have laid white paper on white card.

I made a little tag - this one I cut out with my cuttlebug, but you could always cut out a rectangle and snip the corners at an angle at the end with the punched hole to give it a tag look.  I used bright red ribbon to embellish the tag, continuing the theme but not overdoing the red.

I then gave it one final touch:  a black heart on the tag with a little red jewel in it!


Happy Monochroming!


Dani :)


Saturday, 21 April 2012

New Baby Birds


LITTLE BIRDY NEW BABY CARD

Congratulations to my dear friend Melissa!!


No step by step photos this time, peeps, sorry!  It's pretty simple though :)

(Incidentally, if you're not into stamps and colouring, you can buy these kaisercraft sets as stickers!)
  1. Fold a 21 x 15cm piece of pink card in half
  2. Cut a piece of watercolour card to be about 9.5 x 12cm
  3. Using KaiserCraft Fine & Sunny stamp collection, stamp the row of flags at the top and the three little birds at the bottom.  I have used a corner rounder and inked the edges also
  4. Colour the stamps in your favourite method, in this instance I have employed my usual technique of colouring with water soluble pens and an aqua brush - very simply doing a bright single layer colouring and then using the pen tip of the markers to accent the top edge of each flag and then bottom V of each flag.  I also used the pen tip to accent the underneath of birds and their wings and tails
  5. Cut another piece of watercolour card (only so that it matches the main piece) 4 x 8cm.  Cut a piece of pink card (the same as your main card) 5 x 9cm.  Round the corners on both
  6. Put lettering or greeting on the small white card.  I have used chipboard stickers that are covered in fabric (pre-made because I don't have THAT much time!!) but you can stamp or use rub-ons or stickers etc
  7. Embellish with sparklies and use doublesided tape to stick the small white card to the front of the small pink card and then the pink card to the centre of the large white card
  8. Stick the large white card to the main pink card using double sided tape.  Keep the top, left and right margins even so that there is a large margin below.
  9. Punch two holes evenly at the bottom of the card.  I have actually (stupidly) done mine too big.  Smaller is better!  It's fiddly to get the ribbon through but holds the ribbon in place better.
  10. Choose your ribbon!  I've used a gauzy yellow ribbon and a thin pink ribbon and I threaded them through a diamante buckle first.
  11. Poke the ends of these ribbons through the holes from front to make then cross them over at the back and tug them back through the opposite holes.  If they don't stay in place on their own (mine didn't this time!) then hold down at the back with some clear gift wrapping tape
  12. Trim the ribbon and seal the ends with either glue or a bic lighter (gently and carefully, to melt the ends - sometimes this DOESN'T work!) to prevent the ends from fraying
  13. Done!


Here's another card I made with the same stamp set :)  Pretty self explanatory but feel free to ask any questions!


Happy Carding!!

Dani :)


Thursday, 19 April 2012

Australiana - Gumnut Babies


GUMNUT BABIES CARD

A Little Piece of an Australian Childhood


Snugglepot and Cuddlepie by Mae Gibbs is one of my all-time favourite books.  Even now as a grown up, I quite happily read it to myself at least once a year - it's just such sweet and beautiful story-telling.  And the illustrations, also by Mae Gibbs, are also magic :)

I did have to search hard for these stamps and it was some time ago so I honestly can't remember where I got them.  But Google can find some amazing things!  That said, you could find other stamps all over the place of just gumnuts and other Australiana that you could incorporate into this style of card.  It's a very basic design so you could do anything!


First of all, on watercolour card, stamp your image with StazOn black ink.  Use watercolour technique to colour it (or whatever kind of colouring you want really!  Trim the card up (I trimmed mine so that the branch of the gumleaves would appear to continue off the page), round the edges if you want to, and ink the edges.  I have inked with a nice olive colour.


Next, punch three holes in the bottom right corner of the image.  You could of course use a regular hole punch, however I like the more therapeutic method of whacking a special punch with a hammer!!  These tools are part of an eyelet setting tool kit.


Using either twine, string or thread - fold your twine in half and poke the loop through the hole so that it comes out the front of the card.

Now poke the straggly bits through the loop and pull gently until it looks like the picture below:


Repeat for all three holes.  Don't trim the twine yet - wait until the card is assembled so you can gauge how long you want them to be.


Now gather the other parts of your card.  Backing card, which I am doing in a nice olive/gumleaf green.  I trimmed this to be 5mm wider all around than the gumnut baby card and rounded the corners on it also.  Ink the edges in a similar colour to give that slightly "shadowed" effect.

Also have your folded card ready.  It needs to be a cenimetre taller and about 2.5 - 3cm wider than your green backing card.


Assemble the card, as above, using double-sided tape. Keep to the left side so that the amount of card around the green is even above, left and below.  There needs to be an "excess" to the right.


Because I rounded the corners on my other pieces of card, I have chosen to round the corners on the main card also, but only the right-hand corners.

This is also the time to decide what length/s you want your twine to be and trim accordingly.


Stamp a little heart in the top left corner of your illustrated card.


Stamp your greeting on the right edge of the card.


And there it is - a heart-warming little piece of an Australian childhood!


Happy Stamping!

Dani :)

Saturday, 7 April 2012

Mini Mushroom Card


MINI MUSHY CARD

Getting Your Pun On!


I wanted to make something simple for Mum's birthday that was in-keeping with my dodgy sense of humour.  I'm certain she'll roll her eyes when she sees this!!  My Mini Mushy Card!


Stamp your mushroom image onto watercolour paper.  Colour the image in your preferred style (one option would be this).


Fussy cut your mushroom!!  This means cut around every little bit of it.  Scissors with awesome control and a fine tip are good for this task and I recommend ones like mine, which are spring loaded (like pruning shears).


I envy those of you with neat and creative handwriting!  Personally, my handwriting looks like it was written with a baboon's butt so...I cheated and typed up my sentiment on the computer!

Cut to size (about 7cm by 2cm).


Cut out the coloured pieces of card.  I have nice shimmery rockmelon and lime coloured card - I cut the rockmelon coloured card to be about 8cm by 3cm, then I cut the lime card to be about 9cm by 4cm.

Once cut out, ink the edges of the rockmelon and lime card pieces with ink of a similar colour.  This is a simple and subtle way of adding a tiny bit of dimension to your card.  Edge inking is also awesome for disguising dodgy cutting! hehe

Not seen in my pictures is also a postage stamp shaped piece of rockmelon card, which I will mount the mushrooms on - I had previously cut this out with my Cuttlebug.  This was a last minute addition -  Ink the edge of this also!


Ok, time to get sticky!  I prefer double-sided tape to glue because it's less messy and there's no drying time.  BUT once it's stuck that's it, no little adjustments.

I've applied double sided tape to the backs of the Mushy sentiment, lime card and also (not pictured) the postage stamp cut out.

I've applied foam tape to the mushrooms and the rockmelon card to give the card a bit more dimension.

One your card layer lime, rockmelon and sentiment at the top.  Beneath that, centred, layer the postage stamp and then the mushrooms.


VOILA!!  Done!


Happy Card Making!

Dani :)


Colouring with Water Soluble Inks


HOW TO USE WATER SOLUBLE PENS TO COLOUR A STAMPED IMAGE


I don't consider myself an artist by any means, but I get a tiny thrill whenever I produce a little picture like this that I can share with my loved ones via greeting cards.  I especially adore adorning cards with these gorgeous mouse stamps from Penny Black!

Copic markers are all the rage now and they produce beautiful results.  But my messy, heavy handed style isn't really suited to them, and I find these water soluble markers much more cost effective because you don't GENERALLY require shades.  It's simply a case of adjusting the water to ink ratio when colouring to get the shades you want!


First of all you want to stamp your image onto watercolour card.

You can do this on regular cardstock, but you may get pilling, bleeding, tearing and holes.  Watercolour card is made of cotton and allows you the freedom to move ink and water around a lot without damaging the image.

Also very important is the type of ink you use - you want a fast drying solvent ink.  I recommend StazOn.  You basically want something that dries quickly and won't be smudged by water!


Next select your colours!  You need to use water soluble markers such as these ones from Stampin' Up or Tombow markers.  They are double-ended markers - one end has a large brush-style nib and the other has a fine pen nib.
The above markers are all the markers I use in the Tea Cup photo - not many!


Rather than scribbling straight onto the page, you want to scribble some ink onto a plastic surface, using the brush end of your marker - I use one of my stamping acrylic blocks (just make sure to put some white paper underneath so you can see the ink well).

Next you need an aqua brush.  You can use a standard brush and dip it in water but you get better control using these aqua brushes because they are designed to maintain a good level of moisture on the bristles.

Depending on how much colour you want, use the damp aqua brush to pick up some ink.  I recommend starting with just a little bit of ink until you can determine how dark you want the colouring to be.


Your first colouring layer is a gentle wash of colour over the image.  Moving in a circular motion can give a nice even application.  But it really depends on what kind of look you're going for!  The beauty part is that watercolour isn't supposed to look perfect and neat.


This is the image with the wash layer finished.  Now you need to use the same colouring technique to add any additional layers of colour. 

In this layer you can add lighter and darker shades if you want, but the shadows are "officially" done a little further on when you can take a look at the almost complete image and see where you think shadows should be.


This is the image now that the additional layer of colour has been added!  I have added orange to the mice, allowing some of the yellow to show, and coloured their cheeks with the light pink.


Now you use the fine tip of the pen to create accents and definition to the image.

For instance, in this picture I have used the pale pink to colour the tail and noses (as they are quite fine).  And I use the orange around places like ears and arms where there would be bold shadows.  I also use a red marker to colour the tiny berries on the mug and the green marker to add some definition to the leaves.


And your final step - the shadows!  Figure out where you think your light source is and do darker shades accordingly.  Don't stress about it being perfect - mine aren't but still look effective!


And there you have it, the completed image!  I just love the softness of the colouring and the casual, perhaps old-fashioned, feel it has!

Here are some more of my mice (I am obsessed with them!), of which I actually have a LOT more!


Happy Colouring!
Dani


Sunday, 25 March 2012

Watercolour Stamping


WATERCOLOUR STAMPING


I am also totally in love with stamps!  These gorgeous mice, from the Penny Black range, feature in a lot of my cards - firstly because I think they're completely adorable and secondly because they seem to suit my watercolour colouring style :)
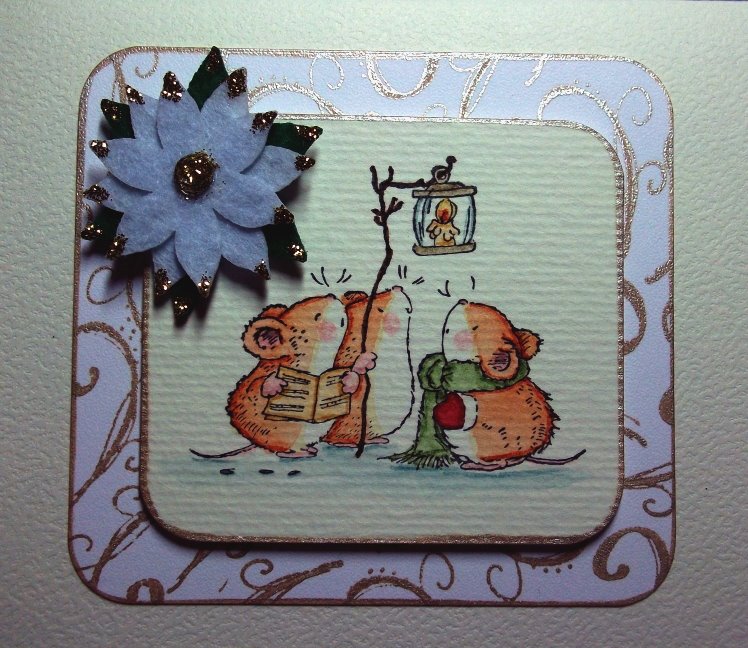


They even come in Christmas flavours!!


Have a mousy day!

Dani :)