
LITTLE BIRDY NEW BABY CARD
Congratulations to my dear friend Melissa!!

No step by step photos this time, peeps, sorry! It's pretty simple though :)
(Incidentally, if you're not into stamps and colouring, you can buy these kaisercraft sets as stickers!)
(Incidentally, if you're not into stamps and colouring, you can buy these kaisercraft sets as stickers!)
- Fold a 21 x 15cm piece of pink card in half
- Cut a piece of watercolour card to be about 9.5 x 12cm
- Using KaiserCraft Fine & Sunny stamp collection, stamp the row of flags at the top and the three little birds at the bottom. I have used a corner rounder and inked the edges also
- Colour the stamps in your favourite method, in this instance I have employed my usual technique of colouring with water soluble pens and an aqua brush - very simply doing a bright single layer colouring and then using the pen tip of the markers to accent the top edge of each flag and then bottom V of each flag. I also used the pen tip to accent the underneath of birds and their wings and tails
- Cut another piece of watercolour card (only so that it matches the main piece) 4 x 8cm. Cut a piece of pink card (the same as your main card) 5 x 9cm. Round the corners on both
- Put lettering or greeting on the small white card. I have used chipboard stickers that are covered in fabric (pre-made because I don't have THAT much time!!) but you can stamp or use rub-ons or stickers etc
- Embellish with sparklies and use doublesided tape to stick the small white card to the front of the small pink card and then the pink card to the centre of the large white card
- Stick the large white card to the main pink card using double sided tape. Keep the top, left and right margins even so that there is a large margin below.
- Punch two holes evenly at the bottom of the card. I have actually (stupidly) done mine too big. Smaller is better! It's fiddly to get the ribbon through but holds the ribbon in place better.
- Choose your ribbon! I've used a gauzy yellow ribbon and a thin pink ribbon and I threaded them through a diamante buckle first.
- Poke the ends of these ribbons through the holes from front to make then cross them over at the back and tug them back through the opposite holes. If they don't stay in place on their own (mine didn't this time!) then hold down at the back with some clear gift wrapping tape
- Trim the ribbon and seal the ends with either glue or a bic lighter (gently and carefully, to melt the ends - sometimes this DOESN'T work!) to prevent the ends from fraying
- Done!
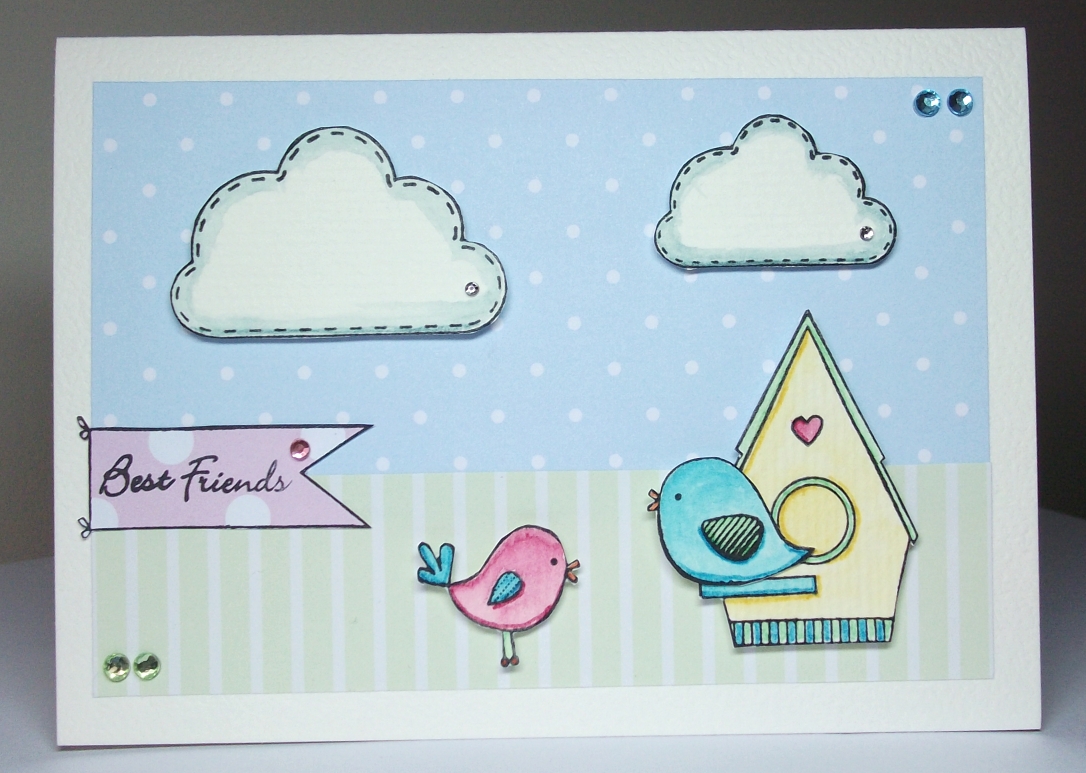
Here's another card I made with the same stamp set :) Pretty self explanatory but feel free to ask any questions!
Happy Carding!!
Dani :)
No comments:
Post a Comment