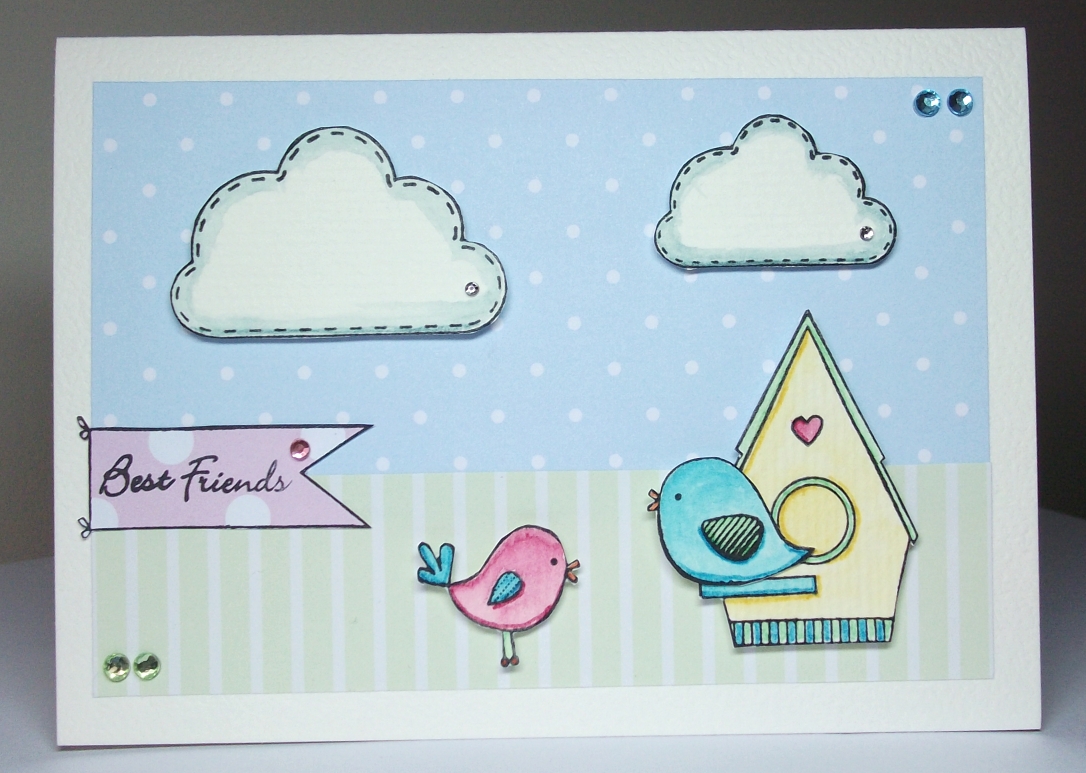
A card doesn't have to be perfect - just from the heart ...
Showing posts with label stamp. Show all posts

Monday, 27 August 2012

Wedding Fever: The Conclusion, I Think


THIS MIGHT BE IT - WEDDING CARD


I think I've done it!  I've put it into an envelope and am putting the fact it's mounted slightly crooked out of my mind because other than that, I love this card!  I think this will be the one I give to my friend for her wedding (unless my OCD and self-criticism rages out of control in the next month or so).
 
What do you think?  I am adoring its simplicity, yet dainty prettiness :)


The pretty cut out is a Shapeability die cutter and embosser that I ran through my Cuttlebug.  The background design was painstakingly hand-stamped and bejewelled :)  The "love" is heat embossed.

Yeah, I'm loving it!


Happy Weddings!
 
Dani :)

Saturday, 25 August 2012

Wedding Fever

I have a friend who is getting married in October and I want to make her the perfect card. Don't know if I am there yet but happily throwing a variety of styles of cards together as practice to help me decide what I will finally make for her :)

One is in silver and white with a big lovely fabric flower and a skeleton leaf for a delicate splash of colour.

Another is going with more chocolatey tones, using my own stamps to create patterned paper and making it pop with a scattering of jewels and pearls.

And finally, I made a couple of simple ones, utilising heat embossing (which I love!). Minimalist and cute!

Hope you enjoy!

Dani :)


Sunday, 24 June 2012

Black & White


ROCKIN' THE MONOCHROME!


When making cards, there's no denying that the monochrome look can have a terrific impact - it can  be eyecatching, sexy, classy, modern, masculine (or feminine!), and fun!

And there's no reason you can't tie that into your stamp colouring as well.  If you're  fan of using copic markers, the impact is incredible.  I use watercolour markers, a little more subtle but still fantastic!

I went for cute and fun in this card :)  I think it would appeal to girls in the 10-13 age range :)


I started out by stamping my image and colouring it with various shades of black, grey and white.  To boost the impact I did colour the skin properly and added one element of red, in the cherry, to make the picture pop.

I used only THREE pens in this colouring:  black, red and skin tone.  Any actual black colouring, I used the black marker directly on the card.  Grey was achieved with the black pen, but painted on with an aqua brush (click here for instructions).  I used the pen-tip of the marker to add texture to her hair.

I finished her off with a little jewel on her bow :)


I got a piece of black card with a faint design to back my coloured image.  You could probably use flat black but I think a faint design adds something.  At the other end of the scale, anything with a clear pattern will be too busy and your picture will be lost.

I distressed the edges of the backing card to relax the style and add some definition to the edges (the other side of the card has a design on white so it worked well because when I distressed the edges, the white showed).  I then mounted my image onto the card with foam tape, to give her lift.


I then mounted my image and card onto patterned paper (black pattern on white) that is only a little smaller than the size of my overall card.  The patterned paper I chose is flocked and also has a little shine to it - gotta love textures!

I added black ribbon to break up the pattern a little.


And to finish it off, I stuck the patterned paper onto my base card and inked the edges of the card with black - again to continue the relaxed feel of the card, but it also helps add some definition since you have laid white paper on white card.

I made a little tag - this one I cut out with my cuttlebug, but you could always cut out a rectangle and snip the corners at an angle at the end with the punched hole to give it a tag look.  I used bright red ribbon to embellish the tag, continuing the theme but not overdoing the red.

I then gave it one final touch:  a black heart on the tag with a little red jewel in it!


Happy Monochroming!


Dani :)


Sunday, 27 May 2012

Apron Card


SWEET LITTLE APRON CARD


Bear with me, I've not charged my camera battery yet!  So this is all photographed with an iphone - yuck!

I have seen these cards here and there on the internet and think they're just gorgeous!  I'd love to be creative enough to create little rolling pins and such for the pocket, but for this first attempt, I dont think I'll push my luck :)

This is a card that would be great for people who love cute things, love cooking or love gardening.  I put a thank you message on it because it looks, to me, like a card that is perhaps ideal for for someone whose home you stayed in - an acknowledgement of their hospitality!


So first of all, Google (or create) a template of an apron.  Fold your main card in half and place the template along the fold and cut around it.


The first thing you want to put on your apron is the loop for the neck.  You can use either ribbon or cardstock / paper for this.  In this instance I have used paper.  I cut a strip of card 15cm x 1cm and secured to the top front of the card, in a loop (see above), with double sided tape.


On top of the neck loop, put a decorate "frill".  I used a border punch and some white cardstock to create mine, but you could also use some lace for a more 'authentic' look.  To fit my apron, I created a border punched length of card that was 6cm x 2.5cm.  Apply more double sided tape to the top of the apron and attach the frill.


Now cover the front of the apron with double sided tape and lay it face down onto the back of the patterned card you will use for the apron.  Make sure that the top edge of the card is exactly where you want it at the top, because you can't trim around the detail you've already put down!

If you want, you can use the template to cut out an apron shape and stick it on, but I find this quicker and less likely to be stuffed up by crooked applications or edges that don't quite meet.


Cut around your card ink the edges (carefully, lightly across the top so that you don't ink the frill - or if you plan ahead better than me, ink the top edge before you stick it down!!).

Now it looks a lot like an apron :)


Pocket time!

Cut out a rectangle of a contrasting cardstock colour - mine is 8.5cm x 6cm.  Round the two bottom corners.  On the back, mark 1cm down on both sides of the pocket.  That is the stopping point for the double sided tape you will place around the edge of the pocket.

You can now stick the pocket onto the front of the apron.


What I thought would be cute is an insert (for a message), for the pocket, that can be pulled out.  I incorporated the pocket "frill" into this.  I had the frill 8.5cm x 2.5cm.  I cut out cardstock that matched the base card (5.5cm x 6cm), rounded the corners and stuck it to the back of the frill, with mo more than a 1cm overlap.

I put another strip of paper that matched the apron (1cm x 8.5cm) that I placed along the bottom of the frill with an overhang of only a millimetre or two.  This was just to make it look a little nicer.

Stamp or write a greeting on the little card.


Slide the insert into the pocket.  It's starting to really come together - we're on the home stretch now!!


Now, if you're into sewing, by all means (before attaching the pocket!) stitch the edges of the card!  However, I'm a little "sewing challenged" so I drew my stitching on - around all edges of the apron and pocket.

Now that's done, it's time for decorating!  Go crazy and decorate your apron :)


There we go - a cute little apron card! :)


Happy Baking!

Dani :)


Monday, 21 May 2012

Kids Keepsake


KIDS HANDPRINT KEEPSAKE CARD


Now THIS was a quick card to make!  I can't take credit for the design - I saw it on Pinterest and HAD to give it a go.

Brin helped me with it a little - I think this is a terrific project to share with a child.  You don't have to stamp the greetings, your child could write it.  And they can embellish it any way they want!

Fantastic for mother's day, birthdays, christmas.  I just decided to make them for no good reason other than I think Brin's grandparents and aunts and uncles will get a kick out of it :)


Using chipboard, trace around your little one's hand and cut out to create a template.  Really you could use anything, even newspaper, but I like the idea of using something as tough as chipboard so that it doesn't move around when you're tracing around it, plus it lasts and can be potentially kept as my OWN keepsake :)


Place the traced hand onto your chosen paper and cut out two hands.  If you're using paper that has a different colour on each side, make SURE that you appear to have a left hand and a right hand otherwise they won't go together!


Use a 30 x 5cm strip of cardstock as the middle of your card.  Consatina it, folding every 3cm.  You want the two ends to be folded in the same direction, per the picture above.


Stamp the greeting "I Love You" on the hand that will be the front of your card.  Stamp the greeting "this much" in the way you prefer, such as above, across one side of your folded cardstock. 

Alternatively, your child can write the greetings.  Brin "helped" me stamp, thus the very rustic look hehe!


Attach the folded cardstock to the "inside" of the hands, as shown above., with the "this" end of the card attached to the inside of the front hand.  If you want to put a greeting, you can do what I did and put it on the back of the card.  I had Brin write his name on the back


.

Embellish as you, or your child, want - this is what I threw together quickly!


Happy Clapping!

Dani :)


Tuesday, 15 May 2012

When I can't sleep ...


SPOTTY CARD


This is a great card to make when you're in a hurry!  Quick and simple but a card that will please most people - suitable for babies, girls, grown up women and even (with the right browns and blues) guys.

You can change so many aspects of the design, based on the size of the card, the size and shape of the greeting, the papers you use (cork for men is awesome!) and how you want to embellish it.  When I make this card, the spots are always the same size (roughly 2cm diameter).  I alter where and how I have the ribbon, the style of the greeting, the types of buttons...

I made this at 1 in the morning so bear with me!


First of all, punch out a bunch of circles - don't worry about how many, do plenty so you can pick and choose colours and be able to muck around with the layout - so aim to have too many.

Ink the edges of the dots.


Get a small piece of card, suited to the size of your greeting.  Stamp the greeting!


I then chose to round the corners of the greeting, ink the edges and pop a tiny bit of bling on it :)

I generally mount my greeting for this card on foam tape.  In this instance, I mounted the left hand side onto with foam tape.


Create a loopy piece of ribbon.  To do this, I cut a decent legth of ribbon, stuck one end on a paper reamer (big fat needly thing!).  I then looped the ribbon back and forth, giving each loop a little more length (well, that was my intention but I ran out of ribbon!)

Firmly holding the ribbon in place, remove the reamer and put a mini brad through the hole.  Doesnt matter what colour, it will be covered up!


Figure out where you want your greeting and place the foam tape on the left end of where the greeting will sit.  Place some double sided tape along the rest of the length and add a dollop of glue for good luck!  Stick your loops on top.


Put some more double sided tape on the back of your greeting, pop a dollop of glue at the end with the loops and stick it down!  Hold it down for a while to make sure it stays where it should :)


Arrange your dots!  Stick them down with double sided tape :)


Pop a few buttons in the centre of some of the dots.  I used teeny tiny cuties, but you can use bigger buttons :)  I also rounded the edges of my card, given the "roundness" of the theme of the card.


Happy Spotting!

Dani :)


Saturday, 21 April 2012

New Baby Birds


LITTLE BIRDY NEW BABY CARD

Congratulations to my dear friend Melissa!!


No step by step photos this time, peeps, sorry!  It's pretty simple though :)

(Incidentally, if you're not into stamps and colouring, you can buy these kaisercraft sets as stickers!)
  1. Fold a 21 x 15cm piece of pink card in half
  2. Cut a piece of watercolour card to be about 9.5 x 12cm
  3. Using KaiserCraft Fine & Sunny stamp collection, stamp the row of flags at the top and the three little birds at the bottom.  I have used a corner rounder and inked the edges also
  4. Colour the stamps in your favourite method, in this instance I have employed my usual technique of colouring with water soluble pens and an aqua brush - very simply doing a bright single layer colouring and then using the pen tip of the markers to accent the top edge of each flag and then bottom V of each flag.  I also used the pen tip to accent the underneath of birds and their wings and tails
  5. Cut another piece of watercolour card (only so that it matches the main piece) 4 x 8cm.  Cut a piece of pink card (the same as your main card) 5 x 9cm.  Round the corners on both
  6. Put lettering or greeting on the small white card.  I have used chipboard stickers that are covered in fabric (pre-made because I don't have THAT much time!!) but you can stamp or use rub-ons or stickers etc
  7. Embellish with sparklies and use doublesided tape to stick the small white card to the front of the small pink card and then the pink card to the centre of the large white card
  8. Stick the large white card to the main pink card using double sided tape.  Keep the top, left and right margins even so that there is a large margin below.
  9. Punch two holes evenly at the bottom of the card.  I have actually (stupidly) done mine too big.  Smaller is better!  It's fiddly to get the ribbon through but holds the ribbon in place better.
  10. Choose your ribbon!  I've used a gauzy yellow ribbon and a thin pink ribbon and I threaded them through a diamante buckle first.
  11. Poke the ends of these ribbons through the holes from front to make then cross them over at the back and tug them back through the opposite holes.  If they don't stay in place on their own (mine didn't this time!) then hold down at the back with some clear gift wrapping tape
  12. Trim the ribbon and seal the ends with either glue or a bic lighter (gently and carefully, to melt the ends - sometimes this DOESN'T work!) to prevent the ends from fraying
  13. Done!


Here's another card I made with the same stamp set :)  Pretty self explanatory but feel free to ask any questions!


Happy Carding!!

Dani :)


Thursday, 19 April 2012

Australiana - Gumnut Babies


GUMNUT BABIES CARD

A Little Piece of an Australian Childhood


Snugglepot and Cuddlepie by Mae Gibbs is one of my all-time favourite books.  Even now as a grown up, I quite happily read it to myself at least once a year - it's just such sweet and beautiful story-telling.  And the illustrations, also by Mae Gibbs, are also magic :)

I did have to search hard for these stamps and it was some time ago so I honestly can't remember where I got them.  But Google can find some amazing things!  That said, you could find other stamps all over the place of just gumnuts and other Australiana that you could incorporate into this style of card.  It's a very basic design so you could do anything!


First of all, on watercolour card, stamp your image with StazOn black ink.  Use watercolour technique to colour it (or whatever kind of colouring you want really!  Trim the card up (I trimmed mine so that the branch of the gumleaves would appear to continue off the page), round the edges if you want to, and ink the edges.  I have inked with a nice olive colour.


Next, punch three holes in the bottom right corner of the image.  You could of course use a regular hole punch, however I like the more therapeutic method of whacking a special punch with a hammer!!  These tools are part of an eyelet setting tool kit.


Using either twine, string or thread - fold your twine in half and poke the loop through the hole so that it comes out the front of the card.

Now poke the straggly bits through the loop and pull gently until it looks like the picture below:


Repeat for all three holes.  Don't trim the twine yet - wait until the card is assembled so you can gauge how long you want them to be.


Now gather the other parts of your card.  Backing card, which I am doing in a nice olive/gumleaf green.  I trimmed this to be 5mm wider all around than the gumnut baby card and rounded the corners on it also.  Ink the edges in a similar colour to give that slightly "shadowed" effect.

Also have your folded card ready.  It needs to be a cenimetre taller and about 2.5 - 3cm wider than your green backing card.


Assemble the card, as above, using double-sided tape. Keep to the left side so that the amount of card around the green is even above, left and below.  There needs to be an "excess" to the right.


Because I rounded the corners on my other pieces of card, I have chosen to round the corners on the main card also, but only the right-hand corners.

This is also the time to decide what length/s you want your twine to be and trim accordingly.


Stamp a little heart in the top left corner of your illustrated card.


Stamp your greeting on the right edge of the card.


And there it is - a heart-warming little piece of an Australian childhood!


Happy Stamping!

Dani :)